Step 1: Sorting
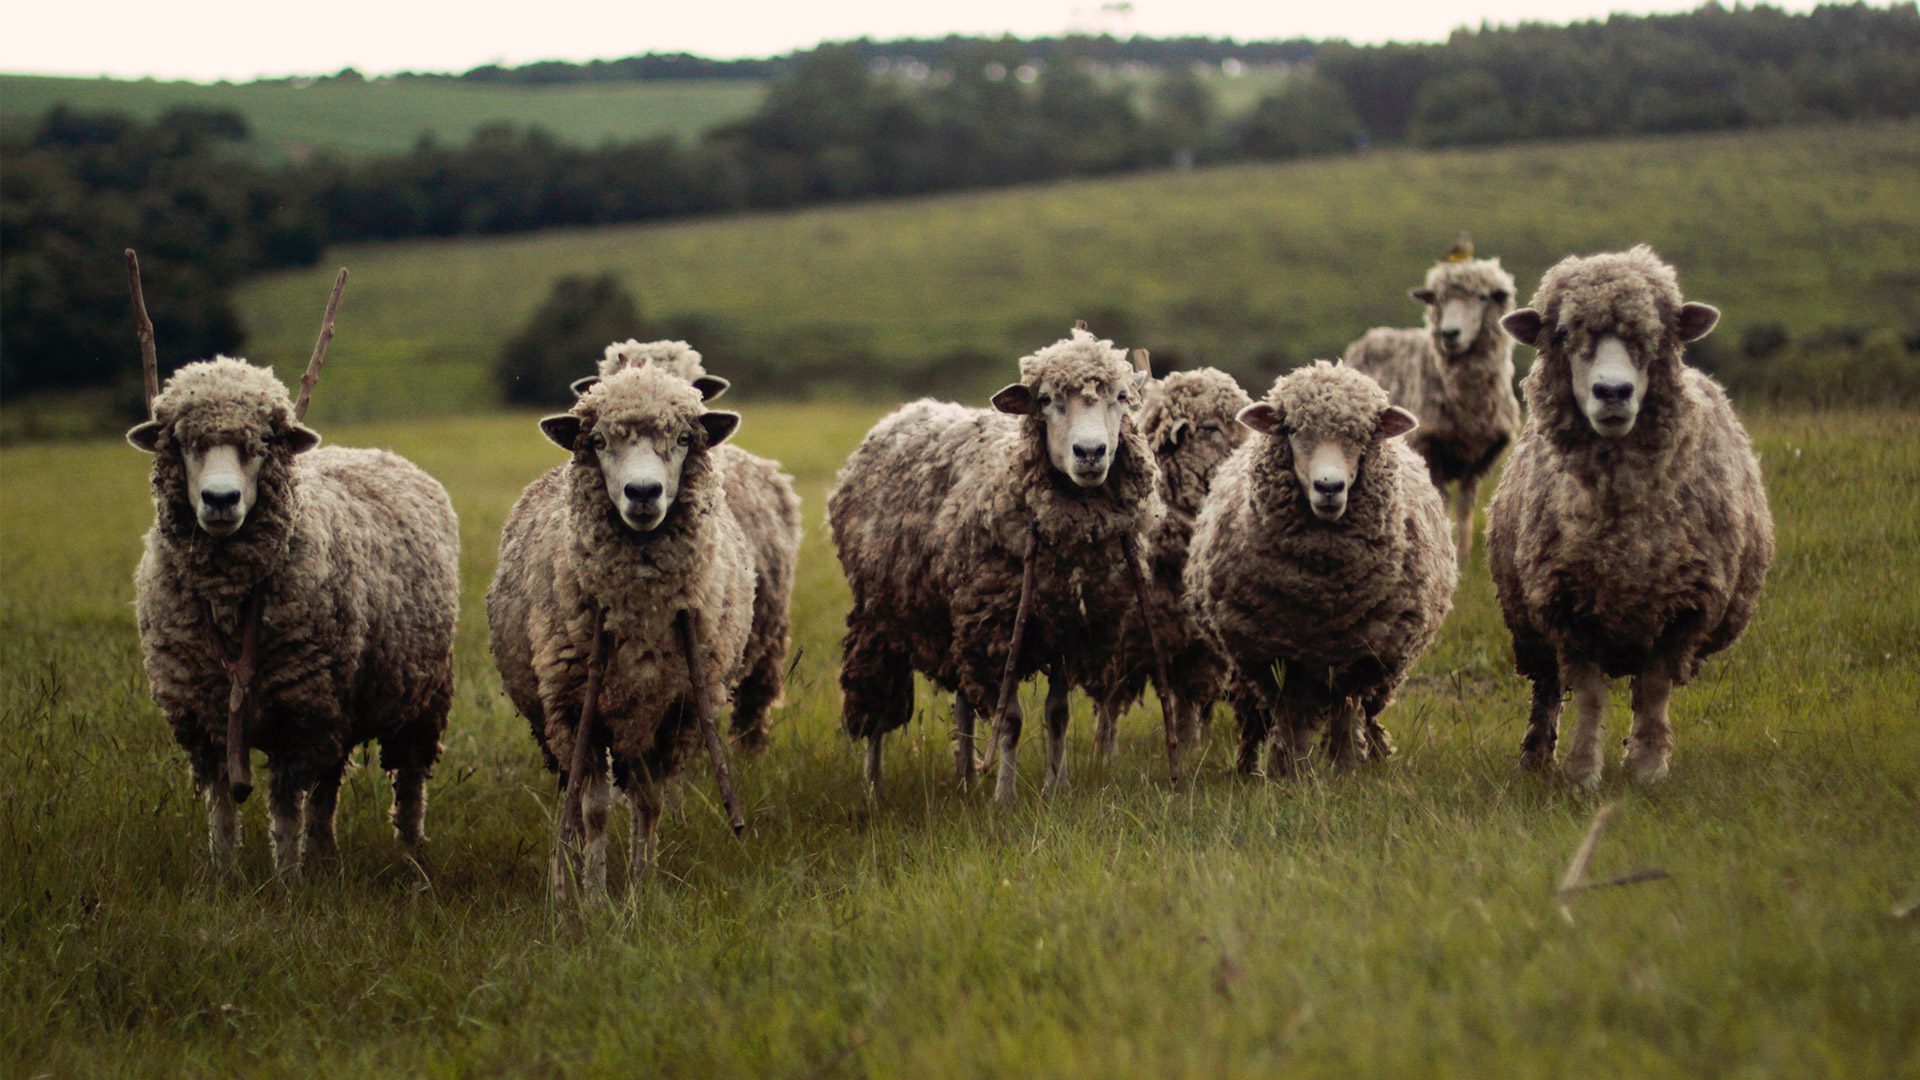
The first of these processes requires the farmer to sort the wool according to colour. Since the wool can vary in colour from grey/black to white, this sorting procedure is necessary as white wools fetch a considerably higher price when sold. This is primarily due to their adaptability to be dyed a variety of colours in comparison to black wools which are limited to darker shades.

Step 3: Thickening
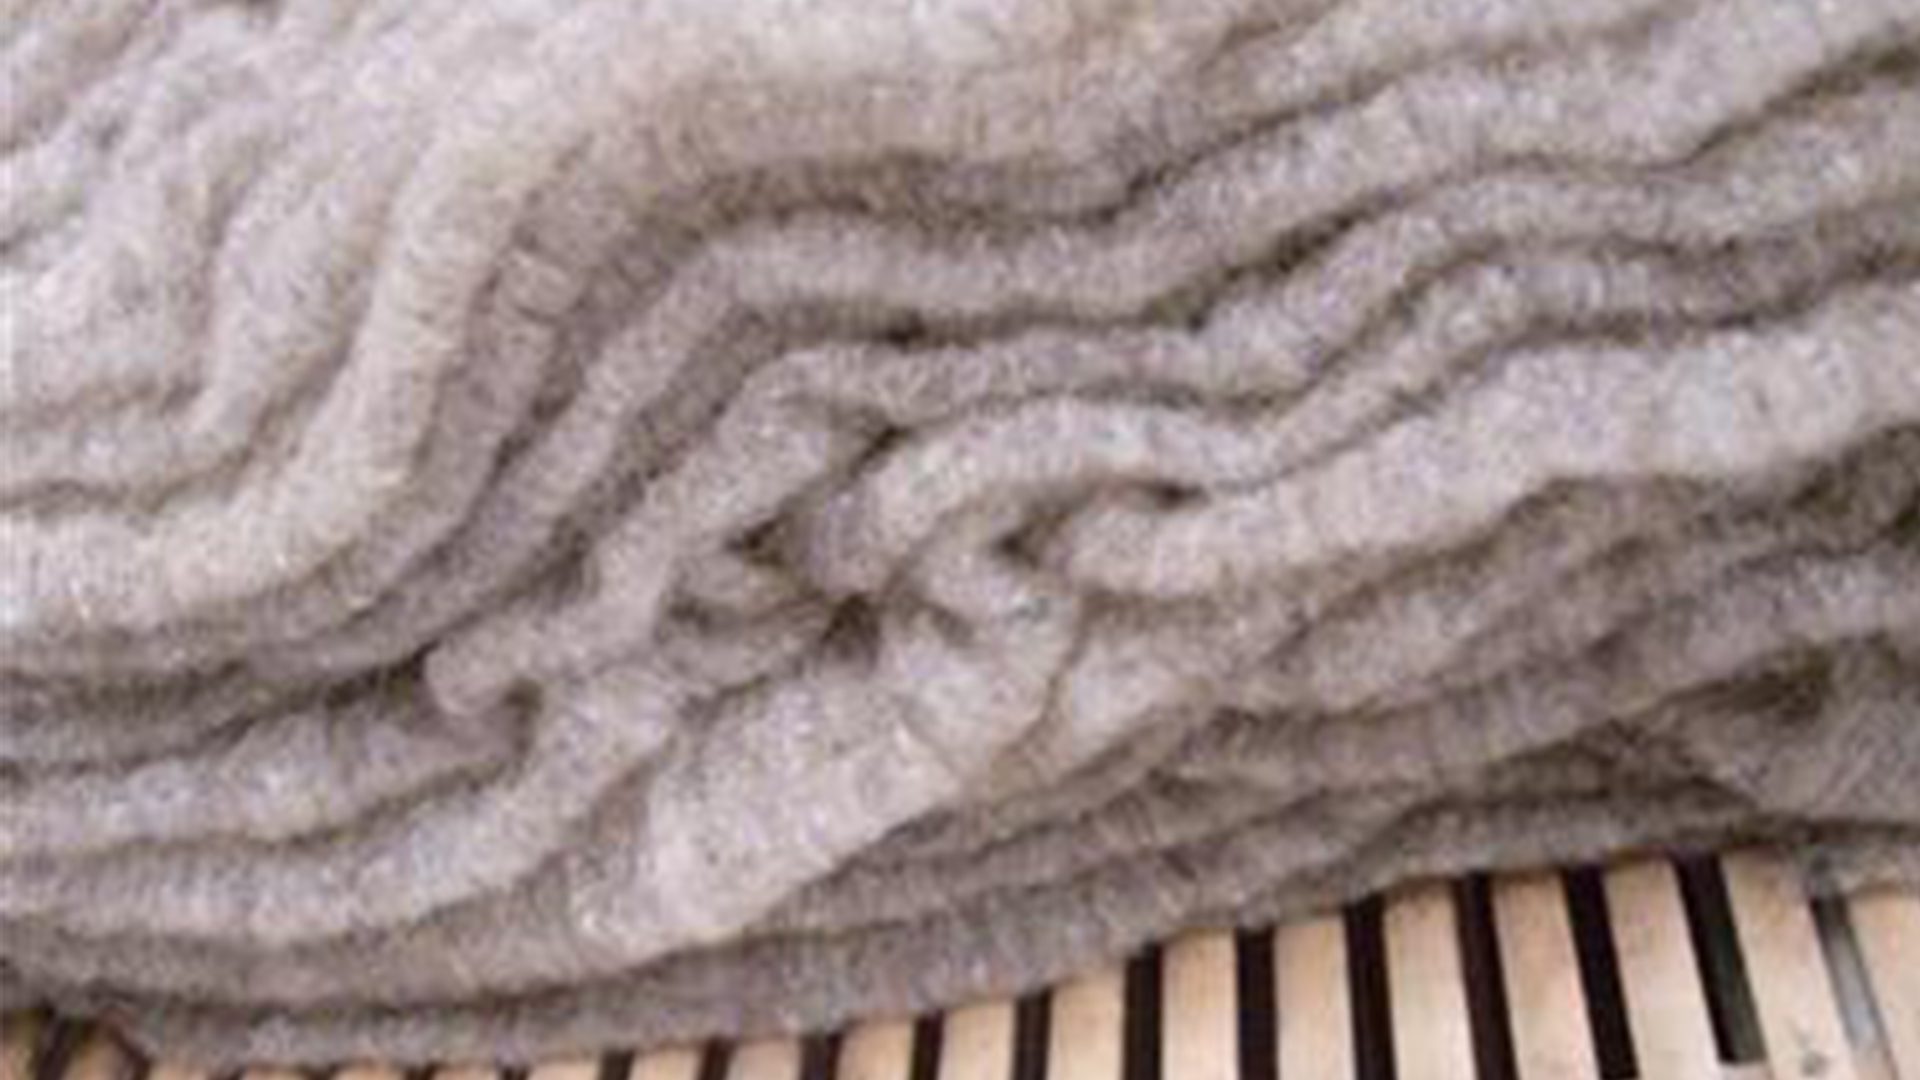
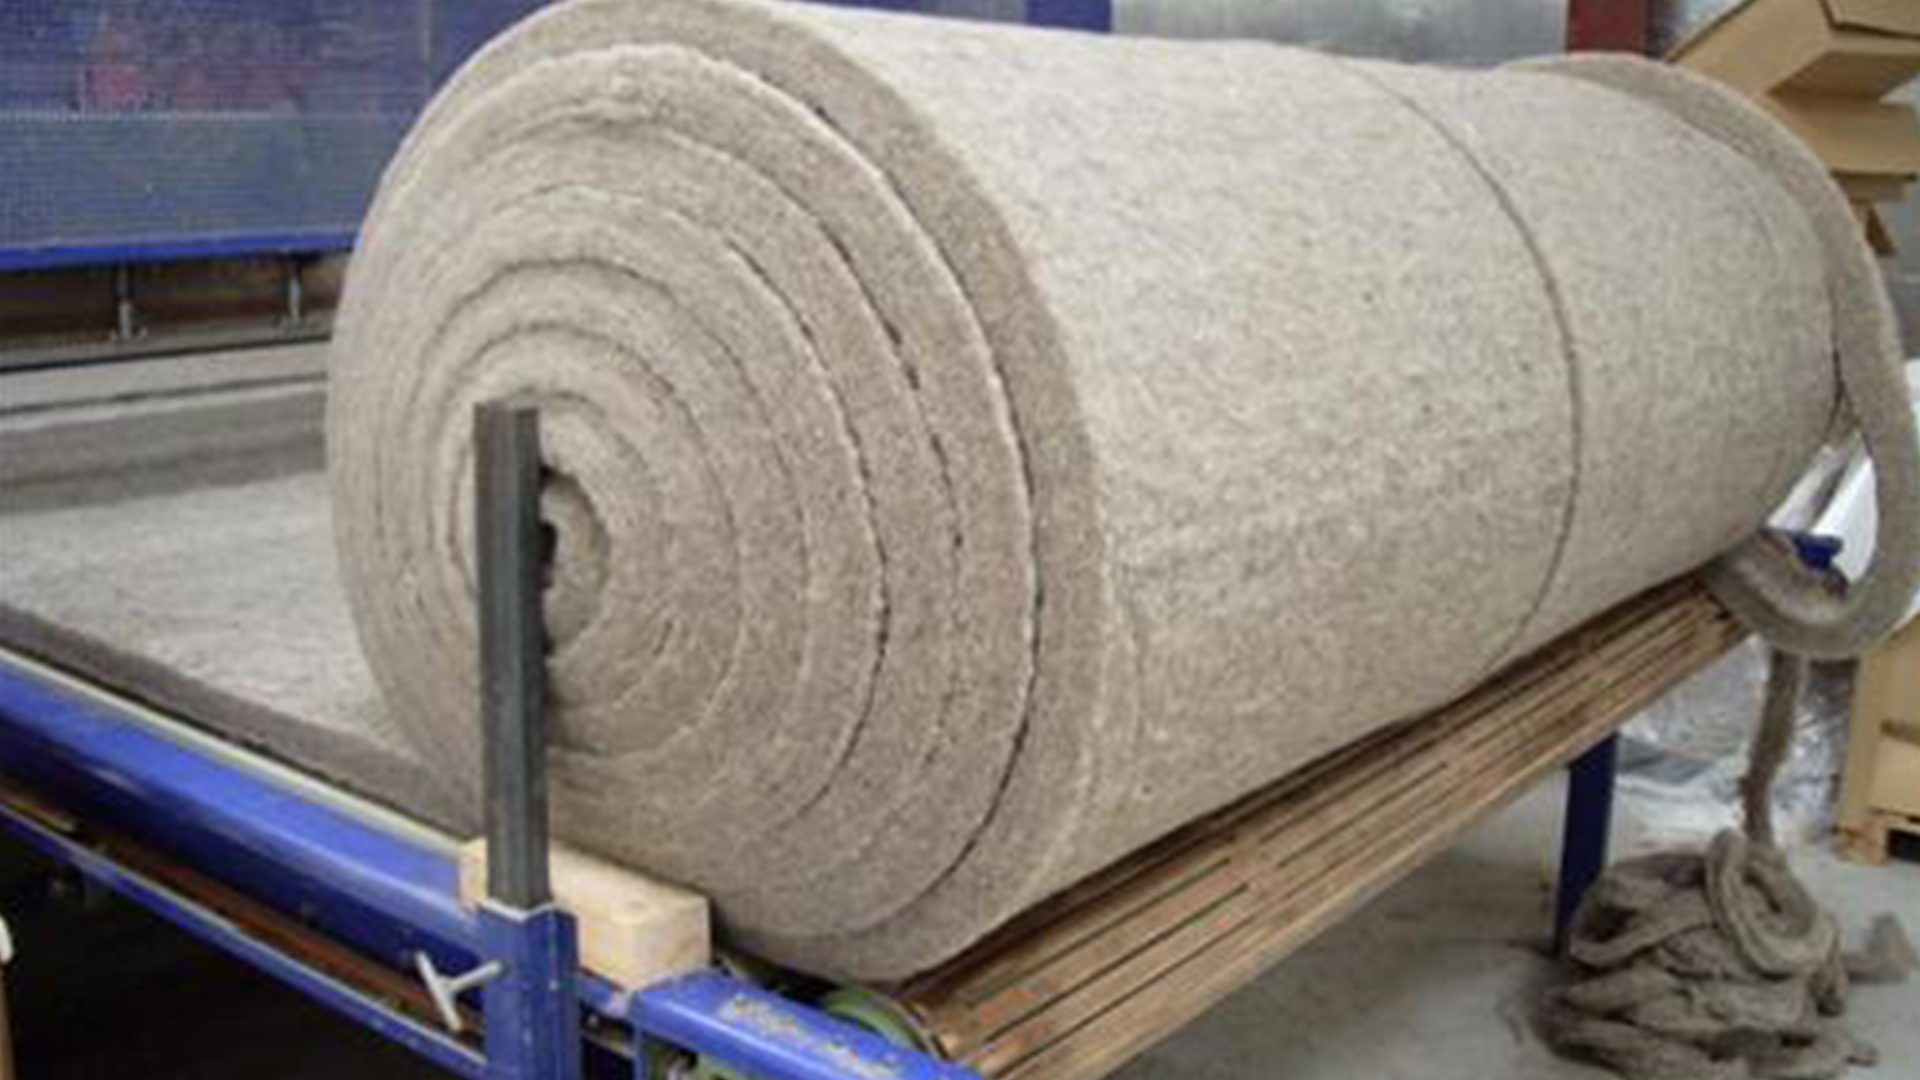
Once dried, the wool is then carded (combed), so all of the fibres are running in the same direction. This extremely thin layer of carded wool fibres is now layered numerous times to give the end product it's desired thickness. These layers are mechanically bonded to produce a thick, strong roll of insulation.
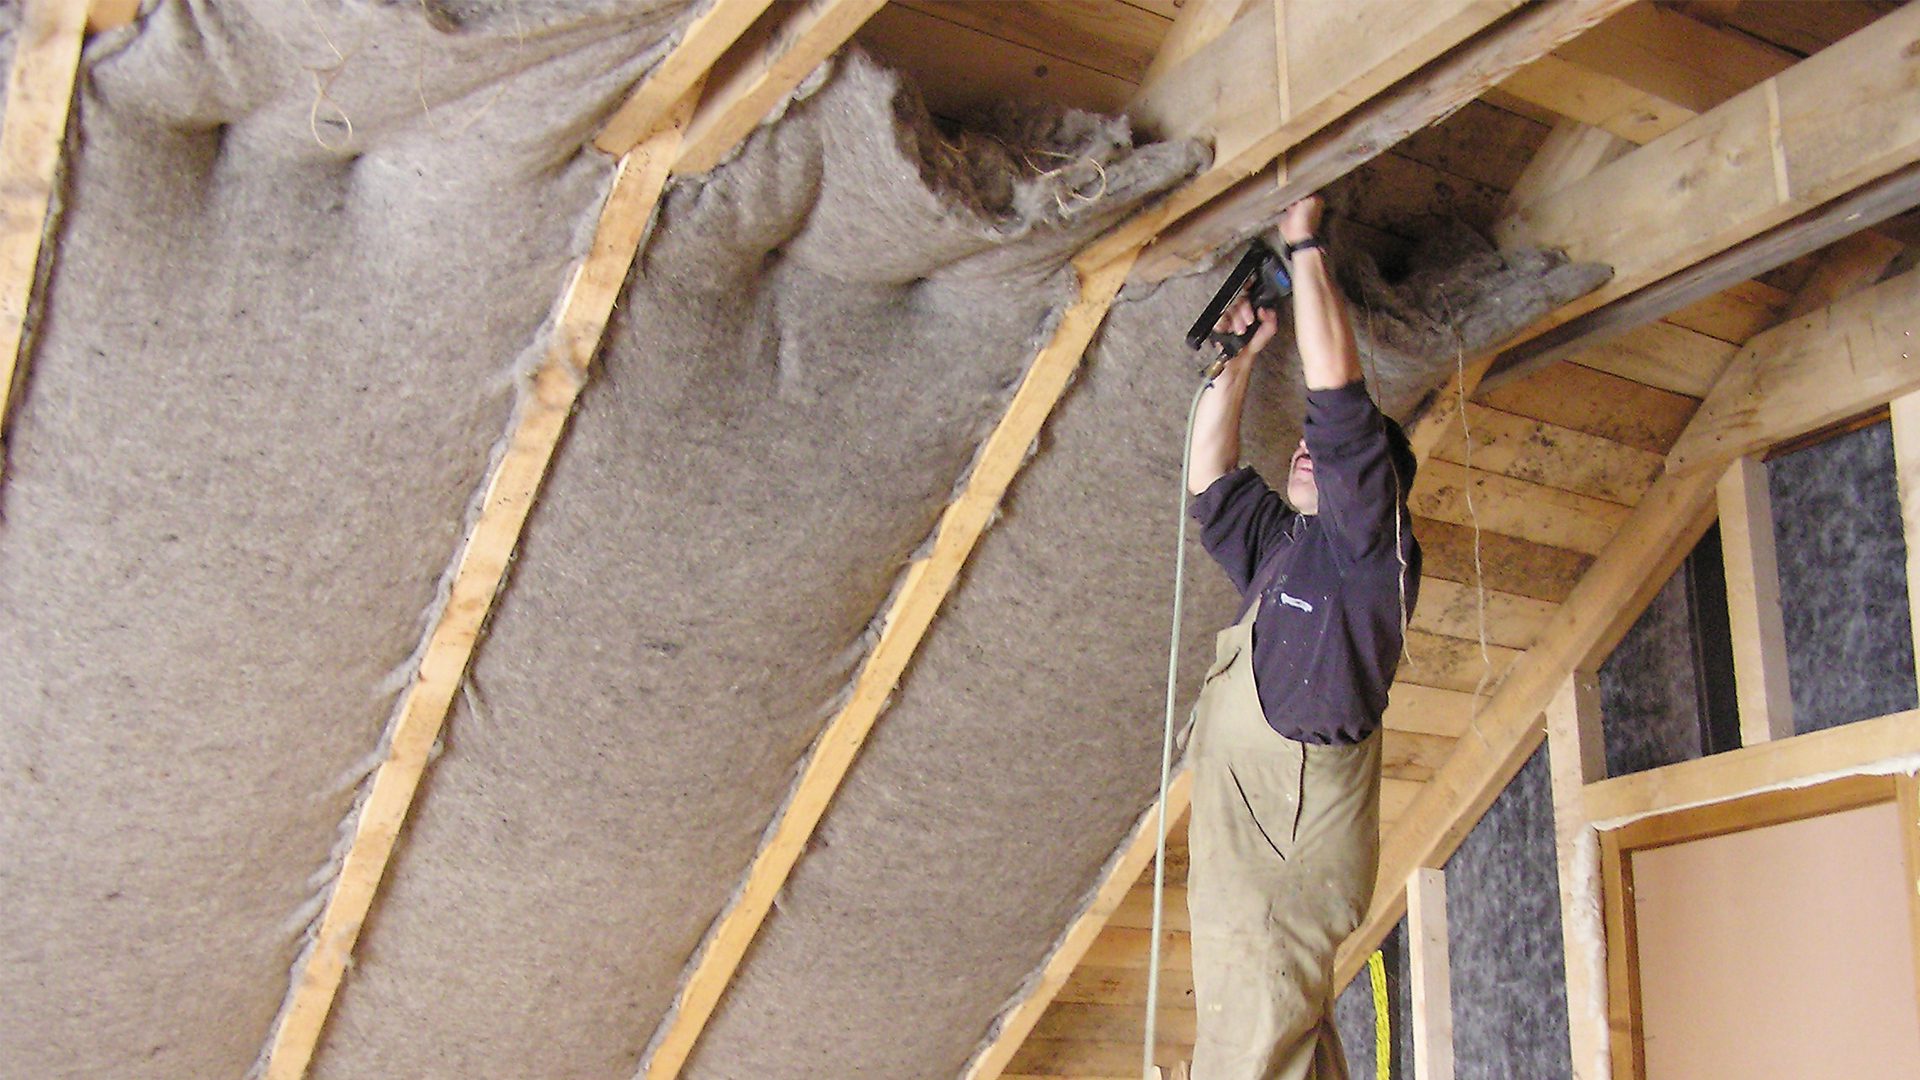
Finally, these rolls are wound, packaged in 2 or 3 rolls per bag and colour-code labelled to facilitate easy handling during installation. Sheep Wool Insulation is now ready to save energy for our newest customers!
